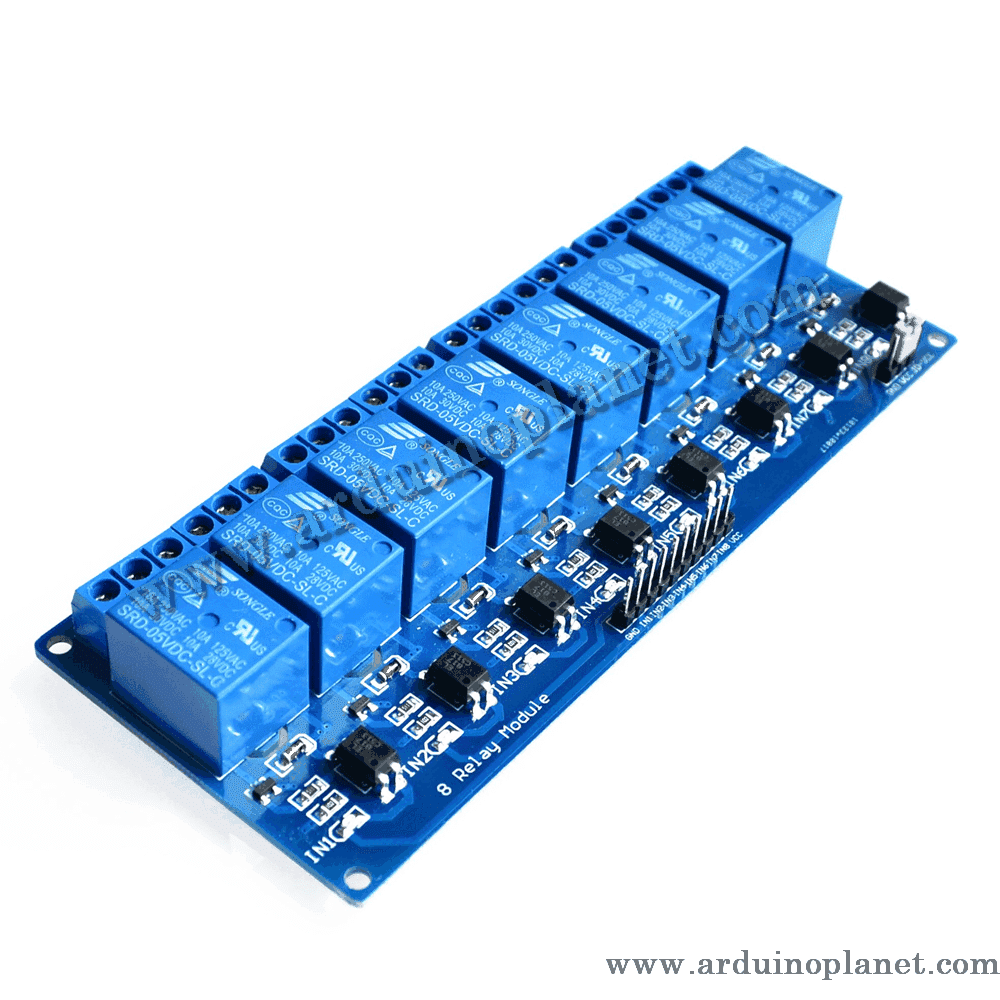
Description
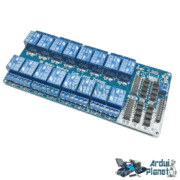
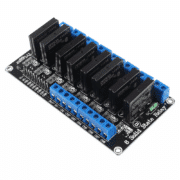
8-Channel 5V Relay Module
The 5V eight-channel relay module switches AC and DC loads. It is compatible with microcontrollers such as Arduino and Raspberry Pi for remote control of electrical devices.
Detailed Specifications
- Relay type: Electromechanical relay
- Number of channels: 8
- Control voltage: 5V DC
- Rated current: 10A
- Contact configuration: SPDT (Single Pole Double Throw)
- Load rating: AC250V 10A, DC30V 10A
- LED indicators: Indicate relay status
- Dimensions: 135 x 55 x 20 mm
- Trigger: Active LOW
- Isolation: Optocoupler isolation
How It Works
A 5V control voltage activates the electromagnetic coil to open or close the relay contacts, allowing low-voltage control of higher-power loads with effective isolation.
Applications
- Industrial automation: Switching motors, heaters, and other equipment.
- Security systems: Activating sirens or signaling devices in alarms.
- Home automation: Controlling lighting and electrical appliances.
- Electronics projects: Prototyping and development with Arduino and other microcontrollers.
How to Use It with an Arduino Uno
Required components:
- 1 x 5V 8-channel relay module
- 1 x Arduino Uno
- Connecting wires
- Breadboard
Wiring instructions:
- Power the module: Connect VCC to the Arduino 5V pin and GND to Arduino GND.
- Control inputs: Connect IN1 through IN8 to Arduino digital outputs (for example, pins 2 through 9).
- Load connections: Connect relay output terminals NO and COM to the load. NO is normally open and closes when the relay is activated.
Arduino Uno code example:
const int relaisPins[8] = {2, 3, 4, 5, 6, 7, 8, 9}; // Pins de commande des relais


void setup() {
  for(int i = 0; i < 8; i++) {
    pinMode(relaisPins[i], OUTPUT); // Définit chaque pin de commande comme une sortie
  }
}


void loop() {
  for(int i = 0; i < 8; i++) {
    digitalWrite(relaisPins[i], LOW); // Active chaque relais
  }
  delay(5000); // Attend 5 secondes


  for(int i = 0; i < 8; i++) {
    digitalWrite(relaisPins[i], HIGH); // Désactive chaque relais
  }
  delay(5000); // Attend 5 secondes
}
Code Explanation
- Control pin declaration: Arduino Uno pins 2 through 9 are configured as outputs to control the relays.
- Relay setup: In
setup(), the control pins are initialized as outputs. - Main loop: Each relay is activated with a LOW signal, the program waits 5 seconds, then deactivates the relays with a HIGH signal and waits another 5 seconds before repeating.
Pinout
- VCC: 5V power supply
- GND: Ground (GND)
- IN1 to IN8: Relay control inputs connected to Arduino digital outputs
- NO1 to NO8: Normally open terminals connected to each load
- COM1 to COM8: Common terminals connected to the load’s power supply
Keywords: solid-state relay, 8-channel module, industrial automation, automatic lighting, home automation, relay, channel.